
The Complete Event Registration Checklist
Everything you need to plan, set up, and run a smooth registration desk, from weeks before to the moment doors open. A practical checklist.
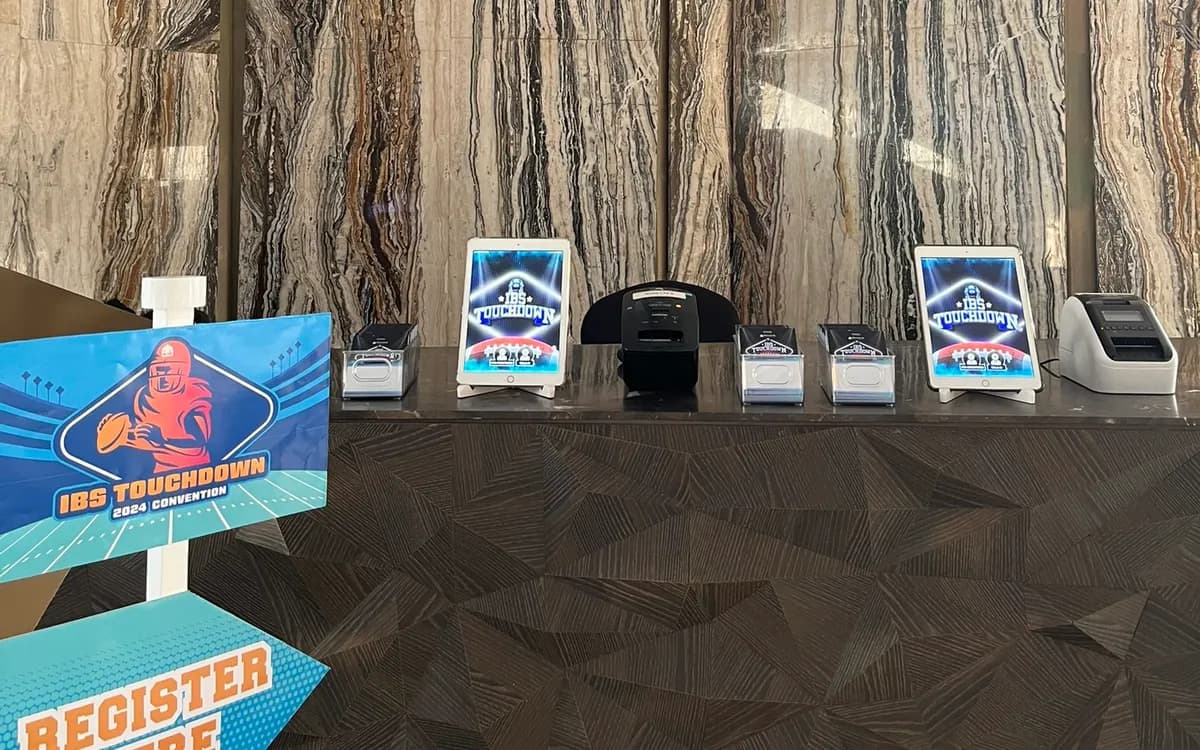
Registration is where an event's organization is most visible. A smooth desk starts the day right; a chaotic one colors everything after. The good news is that great registration is not luck — it is the result of a series of decisions and preparations, most made well before the event. This checklist gathers them in one place.
Weeks Before
Estimate your numbers and arrival pattern. Know your expected attendance and, crucially, how many guests will arrive in your busiest fifteen minutes. This drives everything else.
Decide your setup. Based on your arrival peak, decide how many check-in stations you need, whether you will use staffed lanes, self-service kiosks, or both, and whether you need badges.
Book your equipment early. Reserve your iPads, stands, and printers as soon as you know your needs — especially during peak season, when supply tightens.
Plan your line structure. Decide how you will split the crowd: alphabetically by surname, pre-registered versus walk-in, VIP versus general. Plan the signage to match.
Design your badges. If you are printing badges, design them with a big, readable name and clear category cues. Test a sample.
The Week Before
Finalize and clean your guest list. Reconcile duplicates, confirm spellings, and make sure the list is ready to load onto your devices.
Confirm every supplier and delivery. Verify quantities, delivery times, and setup access for all your registration equipment.
Plan power and connectivity. Confirm the venue's internet and map your power needs. Arrange a backup connection if the venue's Wi-Fi is uncertain.
Assign roles. Decide who runs each lane, who handles exceptions, who manages arrivals and traffic. Brief the whole team.
Prepare for walk-ins. Have a fast way to add unregistered guests on the spot, and decide which lane handles them.
The Day Before
Confirm timings. Reconfirm delivery and setup windows with the venue and suppliers.
Prepare materials. Gather badges, lanyards, label rolls, signage, sanitizer, and anything else the desk needs. Stock spares.
Charge everything. Ensure devices arrive charged, and pack chargers and power solutions.
On the Day — Setup
Arrive early. Give yourself a comfortable margin to set up and solve problems calmly.
Install and test everything. Set up the desk, connect every device to the network, plug in and test every printer, and load the guest list.
Set up signage. Place lane signs and floor markers so guests can sort themselves before reaching the desk.
Run a dry run. Process test guests through the full flow — pre-registered, walk-in, and a misspelled name — to catch problems before doors open.
On the Day — During Check-In
Staff the peak fully. Keep every lane covered during the arrival surge; do not let team members drift away as the rush begins.
Handle exceptions off to the side. Send tricky cases to a dedicated help lane so they never hold up the main flow.
Watch the flow and the data. Use the live attendance count to see the pace and decide when to start. Keep supplies stocked.
Keep it warm. A fast check-in is good; a fast and friendly one is better. Set a welcoming tone.
After the Event
Capture the data. Note your attendance, no-show rate, and arrival pattern while they are fresh.
Gather feedback. Ask guests and staff how the check-in felt, and note what to improve.
Review and file. Write down what worked and what did not, and store your registration data somewhere reliable for next time.
Adapt the Checklist to Your Events
A checklist is a starting point, not a straitjacket, and the best one is the version you have adapted to your own events. Different events emphasize different items: a large conference leans heavily on the crowd-management and staffing items, while an intimate gathering emphasizes warmth and polish. As you use the checklist across events, note which items matter most for your kinds of events and shape it accordingly. Over time it becomes your checklist, tuned to what you actually run.
Add the items specific to your context, too. If your events routinely involve a particular verification step, a certain kind of VIP handling, or a recurring venue quirk, build those into your checklist so they are never forgotten. The generic checklist covers the universals; your adapted version covers the particulars of your events, and it is the particulars that tend to get overlooked. Capturing them in your standard list is how you stop relearning the same lessons.
Keep the checklist alive by updating it after each event. When something goes wrong that a checklist item would have prevented, add the item. When an item proves unnecessary for your events, trim it. This continuous refinement turns the checklist from a static document into an accumulating record of everything you have learned about running your registration well. A checklist that grows with your experience becomes one of your most valuable planning tools — a distilled playbook that makes each event more reliable than the last and lets anyone on your team run registration to your standard. Start from the complete checklist, adapt it to your events, and keep refining it, and you build not just a smooth next event but a durable capability for every event after.
The real value of working from a checklist is that it removes reliance on memory at exactly the moments when memory fails — when you are busy, distracted, or rushed. A good checklist captures your hard-won lessons so you never relearn them the hard way, and it lets anyone on your team run registration to your standard. Treat it as a living document, refined after every event, and it becomes one of the most valuable tools you have for consistently smooth check-in.
A Repeatable Standard
The value of a checklist is that it makes great registration repeatable. Follow it for each event and you stop relying on memory and improvisation, and start running check-in to a consistent, professional standard every time. Adapt it to your events, and it becomes your own registration playbook.
If you are planning an event in Metro Manila, we can handle the equipment side of this checklist — iPads, stands, and badge printers, delivered, set up, and collected by our team — and help you get every other item right.
Planning an event?
We deliver and set up iPads, printers, and registration tech across Metro Manila.
Request a quote